What projects are you going to work with over the Christmas holidays?
I've been appointed to make a podium for a business group that I belong. I've never made one of those before so coming up with a design is a brand new experience.
I've been rolling ideas over in my head and come up with a few real cool features. One of these features is goingto be a special pull out drawer at the very bottom that will allow another couple of inches elevation for the vertically challenged speaker. Best of all, I'm going to name that feature after a favorite "short" friend of mine in that orgainzation.
Another feature will include an over sized document platform that will incorporate a cool LED (small) light and another for a microphone tucked away in the corner. I've been considering how to make some hidden rollers or wheels underneath to make it easy to move....but yet be heavy enough to remain still even with the most ruthless speaker.....ha.
The materials will probably be oak or maybe cherry......I haven't decided yet.
But, one thing for sure, I'm going to need to make the adjoining corners exact....no room here for any non-fitting angles.
The real challenge is to make this thing so that it isn't too heavy but still heavy enough to render comfort to challenged orators. This thing has to work.
I'll post more info later. So if any of you out there come up with any ideas that may help, feel free to comment.
Till then......happy wood-working.....
I plan to make a brand new table, a card/chess table, one that was inspired by my now deceased friend Joe. I would like to make it undulating, sort of a playground that allows the chessmen to go down in the middle and fight while the royalty stays up on the hill. I thought I'd make each square separately and vary the color and thickness of the square depending upon where on the table the square rested. The table should be about 26-28 in. square and bordered with a dark hardwood, maybe black walnut. The edge should house a couple of drawers on each players side for storage of the chessmen or chips or what ever we'd like to use them. Chess tables shouldn't have four legs because of potential knee knocking and destroying the game in session, so a pedestal or winged support is appropriate. And, of course, if a pedestal is used it will need to be large and sturdy. This piece will be heavy in order to be functional. It's intrinsic beauty will boast its contrasting deep colors and unique functionality, sometimes bestowed upon really nice chess tables.
Well, for now this project is just a dream. I need to systematically procure the correct lumber, cut it to fit, glue it up, joint it and finish with an appealing patina.
Patience my man.......patience.
Oh, by the way, I may make it as a desktop unit.....moveable....huh?
Well, here I am still working on the chest of drawers that I started back in October. Heck, at this rate one would think I never get anything done with woodworking. And, over the past few months that is the way it is.
The chest of drawer project has moved along a little though. I have installed the drawer slides on to the main frame of the project. The slides are high quality and are of the auto-closing style. That style of drawer slide is the preferred type for me.
I'm taking a break for a while. But, that doesn't mean that the project doesn't go on. It goes on in my head. Sometimes different thoughts come together. Before you know it you may be putting special little twists and turns that create a unique project that even you didn't expect.
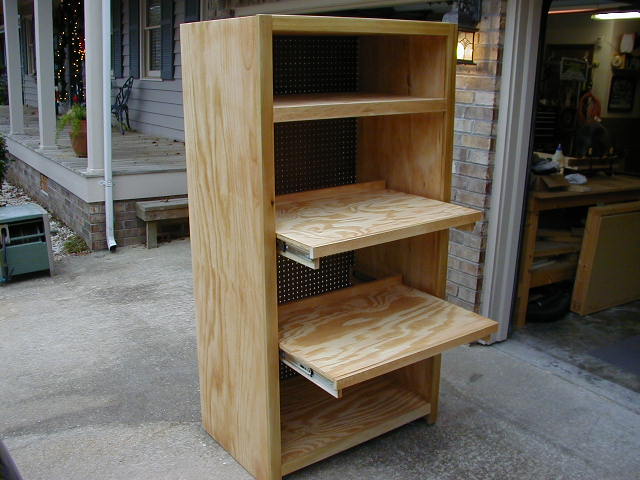
It's my intentions to cut some oak veneered plywood for the sides and back, so that they slide into the rabbets already cut into the main frames. The drawer fronts will be attached to the flush fitting drawers proper and will rest upon the front face frame as well.
I'm not sure about the top yet. I may make that piece it from a glued up hardwood and route the edges into nice presentation that would finish well and be the accent needed to make a plain box a stunning object of conversation. I can only wish. I'll get back on it soon.
Till next time......
I've been working a little bit on Christmas gifts this year. It seems that everyone really likes to get something hand-made now-a-days. I'm making a little progress even though I'm still recovering from the amputated fingertip. Of course I'm way behind in getting everything done but, what the heck, it's still worth it to perservere.
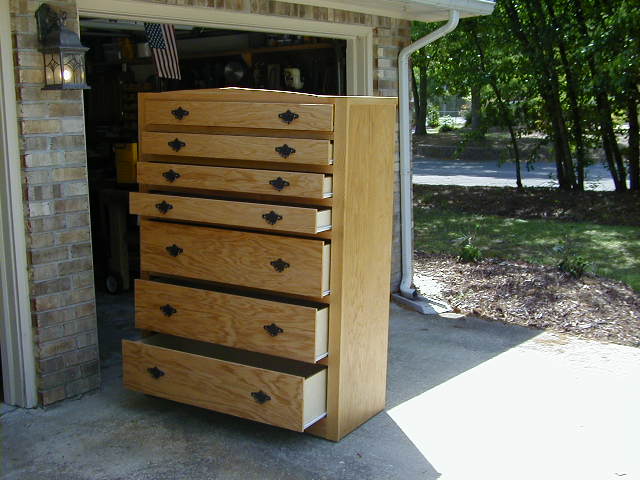
My current project is a chest of drawers for my step son. It seems ironic that he could use one. This project consists of the basic four legs and infrastructure that you'd normally use to hold it together. Pocket screws makes it a solid structure and quicker than mortise and tenon, at least for me. Basic finished pine and a little hardwood is the material of choice.
The drawers sides are gong to be made out of finer layered plywood and routed to be round on the upper edges and slotted for a close accurate fit. That seems to be a nice touch along with good self closing slides, heavy duty of course. Once the drawer sides are cut and put together to include a slide in plywood bottom, I'll adjust them to the drawer slides to flush fit the front of the set. I have decided to make this drawer system so that I can layer install hardwood veneered fronts that rest on the face frame.
I've thought forward and routed rabbets in the legs to accomodate slide in panels for the sides and back. In the past I've used veenered 3/4" plywood for the sides, but that creates a fairly heavy project even though it has it's place in some projects. I just wanted to make this project a little lighter in weight.
I'm not sure what top I'll use on this one. It's a toss up between 3/4" veneered plywood and maybe a glued up hardwood panel. We'll see what the mood creates as I get closer to the end. Of course, everyone knows that the last part is to afix the top. Incidently, I amputated my finger on the table saw while making rabbets in the top frame to hold down the undetermined top of this piece. Arrghh !
See my blog http://www.woodenhurt.blogspot.com/ as it discusses some of the safety basics I've learned to adhere. I hope this helps describe the project adequately. I'll post pictures upon completion.
Good luck and happy woodworking.
Join my blog to discuss your woodworking projects and ideas.
Share comments and sites with other wood workers.
Learning this hobby is interesting and rewarding..... Scroll down....
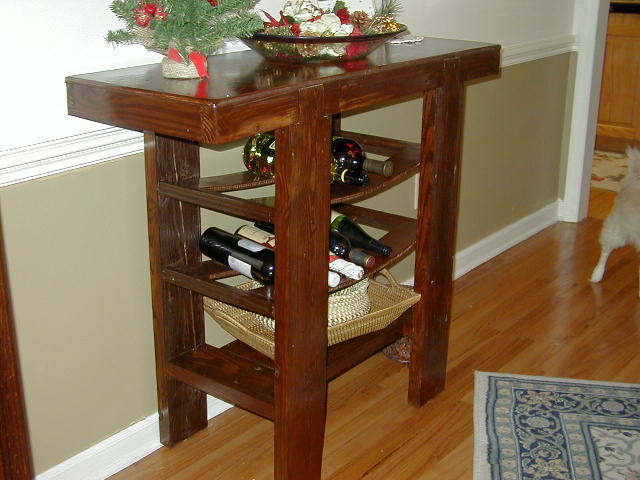
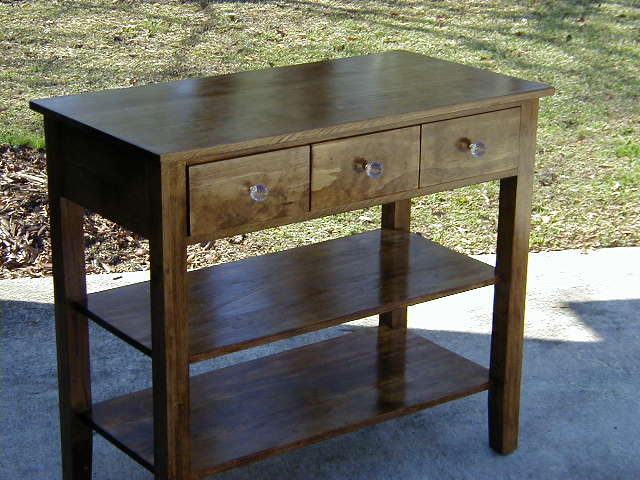
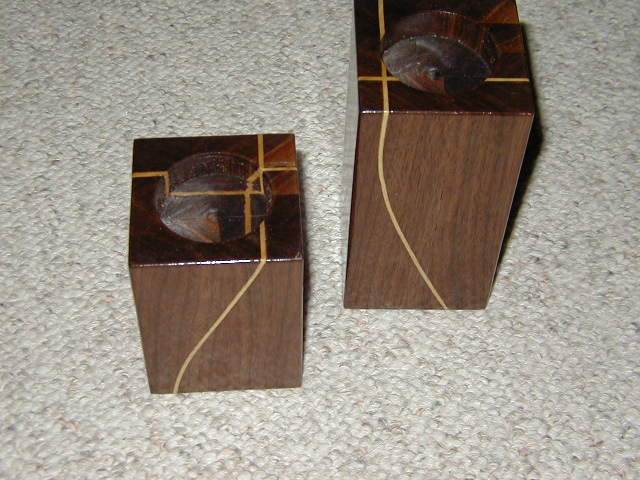
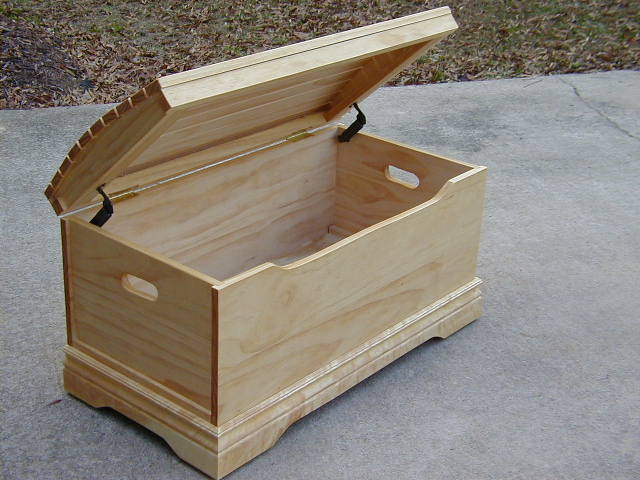
I placed justa few pics below.
Tell us about your interesting wood working projects.
.jpg)


.JPG)
.JPG)
.JPG)
.JPG)
+345.jpg)
+044.jpg)